
Hello again, world! We are going to continue building the web app from the previous post. This time, we will be talking about templates, HTML and Bootstrap.
In part 1 we built a local web app which has two routes that show some plain text - nothing interesting. Now we are going to implement HTML templates and beautify them with Bootstrap.
Part I → Create and host your first web app with Python and Flask - Part 1
Part II → Create and host your first web app with Python and Flask - Part 2
First of all, what is HTML? According to MDN web docs:
HTML (HyperText Markup Language) is the most basic building block of the Web. It defines the meaning and structure of web content.
We can create web pages using HTML, we can put in images, text, tables, etc. Please bear in mind that HTML is not a programming language, it is a markup language. Although we can do some programming inside using Javascript or Jinja (we will take a look at this soon). Now, templates are files using the HTML markup used for showing what we want to the user. They are separate files from the .py files, in order to separate logic and presentation. Handling .html files separately is essential to scalability.
Side note: in technical terms, the
.pyfiles that handle logic and are not accessible to the user are called backend, and the presentation files (namely.html,.css,.jsfiles) are called frontend.
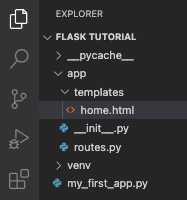
Let’s create a folder named templates inside our app folder. It is important that you use the name templates since Flask is looking for that folder name by default. After that, let’s create a file called home.html. It can have any name you like, but we need the .html extension.
Inside home.html we will write some stuff to make it look better than plain text. If you want, you can download an extension called “HTML Boilerplate” which will help us build the basic structure of our file.
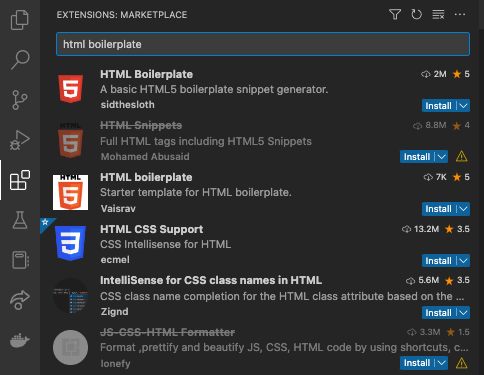
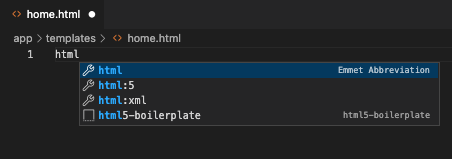
If you decide to install it, just type html inside the file and select the “html boilerplate” from the list. If you don’t want to install it, you can just copy the code below.
<!DOCTYPE html>
<!--[if lt IE 7]>      <html class="no-js lt-ie9 lt-ie8 lt-ie7"> <![endif]-->
<!--[if IE 7]>         <html class="no-js lt-ie9 lt-ie8"> <![endif]-->
<!--[if IE 8]>         <html class="no-js lt-ie9"> <![endif]-->
<!--[if gt IE 8]>      <html class="no-js"> <!--<![endif]-->
<html>
   <head>
       <meta charset="utf-8">
       <meta http-equiv="X-UA-Compatible" content="IE=edge">
       <title></title>
       <meta name="description" content="">
       <meta name="viewport" content="width=device-width, initial-scale=1">
       <link rel="stylesheet" href="">
   </head>
   <body>
       <!--[if lt IE 7]>
           <p class="browsehappy">You are using an <strong>outdated</strong> browser. Please <a href="#">upgrade your browser</a> to improve your experience.</p>
       <![endif]-->

       <script src="" async defer></script>
   </body>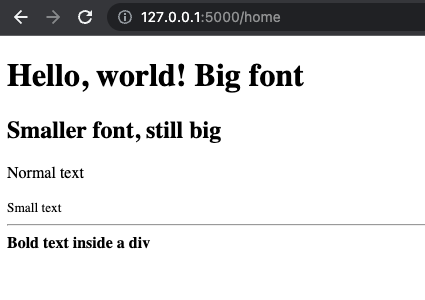
</html> If you are not too familiar with HTML, let’s start with a simpler structure and a bunch of elements to explore:
<!DOCTYPE html>
<html>
   <head>
       <title>Title of my site</title>
   </head>
   <body>
       <h1>Hello, world! Big font</h1>
       <h2>Smaller font, still big</h2>
       <p>Normal text</p>
       <small>Small text</small>
       <hr>
       <div>
           <b>Bold text inside a div</b>
       </div>

   </body>
</html>
The <body> element represents the content of an HTML document and so there can be only one <body> in the document. Basically we put everything inside there. You can explore the rest of the elements browsing the linked MDN page.
Now, we need to tell our Python code to look for that html file and show it when the user accesses a certain route. Let’s take a look at our routes.py file. We should have something like this inside it:
from app import app
@app.route("/")
def home():
return "My first app is running!" Let’s modify it and leave it like this:
from app import app
from flask import render_template
@app.route("/")
@app.route("/home")
def home():
return render_template("home.html") We are adding two lines and modifying one. Remember to save your file (CTRL+S or CMD+S)
-
from flask import render_templateis saying that we need to import the functionrender_templatefrom the flask library. - By adding
@app.route("/home")under@app.route("/")we are telling the app that both/homeand/routes will do the same. -
return render_template("home.html")instead ofreturn "My first app is running!"forces the app to return our recently created html file instead of some boring plain text. Let’s test it! Remember how? Go to a terminal and typeflask --app my_first_app run

You should now see something like this:
Excellent! Now, for the last part, we are going to beautify it a bit using Bootstrap. You can head directly to the quick start to take a look at its documentation. According to their instructions, we are going to copy and paste a couple of lines into our home.html file:
<!DOCTYPE html>
<html>
   <head>
       <title>Title of my site</title>
       <link href="https://cdn.jsdelivr.net/npm/bootstrap@5.3.0-alpha1/dist/css/bootstrap.min.css" rel="stylesheet" integrity="sha384-GLhlTQ8iRABdZLl6O3oVMWSktQOp6b7In1Zl3/Jr59b6EGGoI1aFkw7cmDA6j6gD" crossorigin="anonymous">
   </head>
   <body>
       <h1>Hello, world! Big font</h1>
       <h2>Smaller font, still big</h2>
       <p>Normal text</p>
       <small>Small text</small>
       <hr>
       <div>
           <b>Bold text inside a div</b>
       </div>

       <script src="https://cdn.jsdelivr.net/npm/bootstrap@5.3.0-alpha1/dist/js/bootstrap.bundle.min.js" integrity="sha384-w76AqPfDkMBDXo30jS1Sgez6pr3x5MlQ1ZAGC+nuZB+EYdgRZgiwxhTBTkF7CXvN" crossorigin="anonymous"></script>
   </body>
</html>
We pasted one line inside <head> and one inside <body>. Let’s restart our app (CTRL+C in the console and run it again) and we should be able to see something like this:
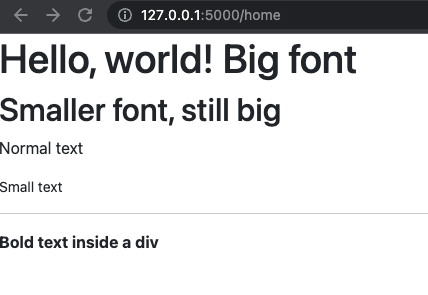
Do you notice any differences? Take a look at the space between the left border of the page and the text. Also, take a look at the font. Bootstrap is changing some things for us, so we don’t have to deal with the styling. Before closing this article, let’s change some of our code and discuss a bit about Bootstrap:
<div class="text-center">
   <b>Bold text inside a div</b>
</div>
We added class="text-center" inside our div element. This should have happened:
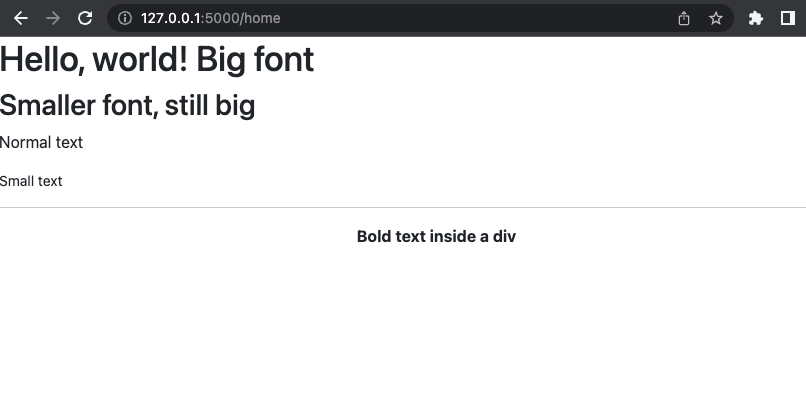
The “bold text” should have moved to the center just by adding that small piece of code. According to W3Schools we use Bootstrap because it’s easy to use, it has responsive features, and it’s compatible with several browsers. Bootstrap has predefined classes to help us style and move elements around without the need to write .css files ourselves (I mean, we can still do it, but we can speed up the frontend process by a lot).
Further steps
Now that you have created your first HTML template, you can create more files and explore Bootstrap classes. You can also take a look at Bootstrap’s examples and see what they do to build those HTML files. If you don’t want to style your HTML files yet, don’t worry, we can continue building a web app and add Bootstrap at the end of the development.