
Disclaimer: this tutorial assumes you have a basic knowledge of Python.
Have you ever wondered how to build an app to put that dream of yours into something real? Well, you’ve come to the right place! In this tutorial we are going to learn how to build and host a basic web application using Python and Flask.
Part I → Create and host your first web app with Python and Flask - Part 1
Part II → Create and host your first web app with Python and Flask - Part 2
Remember that Flask helps you build a web application, not a native one (for Android or iOS). A web app has some benefits over native apps:
- No installation needed: Web apps can be used with just a browser - in your phone, computer, tablet or any other device that can run a web browser.
- Responsiveness: Most of modern web apps are built to correctly respond to your screen size, so you don’t have to worry about adjusting your screen or flipping your phone to the side.
- No need to upgrade to the last version: Since everything is running in your browser, you don’t need to worry about downloading the latest version of the app, the devs will do it for you.
I’m sure I’m missing some points, but these are the most important ones. Now, let’s dive into the technical stuff.
Installing Python and a IDE of your choice
An IDE (integrated Development Environment) is a software that can help us program more efficiently. It’s like a text editor but with more capabilities. You can take a look at some good IDES for Python:
In this tutorial we are going to use VS Code. After you choose and install your favourite IDE, we need to install Python. You can download it here.
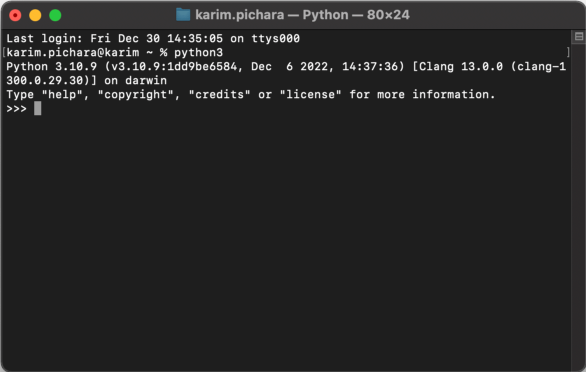
You can use whatever version you like, but I don’t like using the last one, since we can still find bugs. At the time of this writing, the last Python version is 3.11.1, but I am going to install 3.10.9. You can check the installation by typing python3 in a terminal.
Creating the folder structure, setting up a virtual environment and installing Flask
Now, let’s continue using our IDE. I have created a folder named “Flask tutorial”. We can create all our files and folders for the project inside. Here, we open a new terminal and type python3 -venv venv. What this line does is asking python to run venv to create a virtual environment called “venv”.
Advanced tip: it is recommended that we use virtual environments for different projects, since we don’t want conflicting libraries. You can learn more here.
This should have prompted a message and created a folder structure that you can see on the left of the screen. Finally, to use this virtual environment we execute in the console source venv/bin/activate.
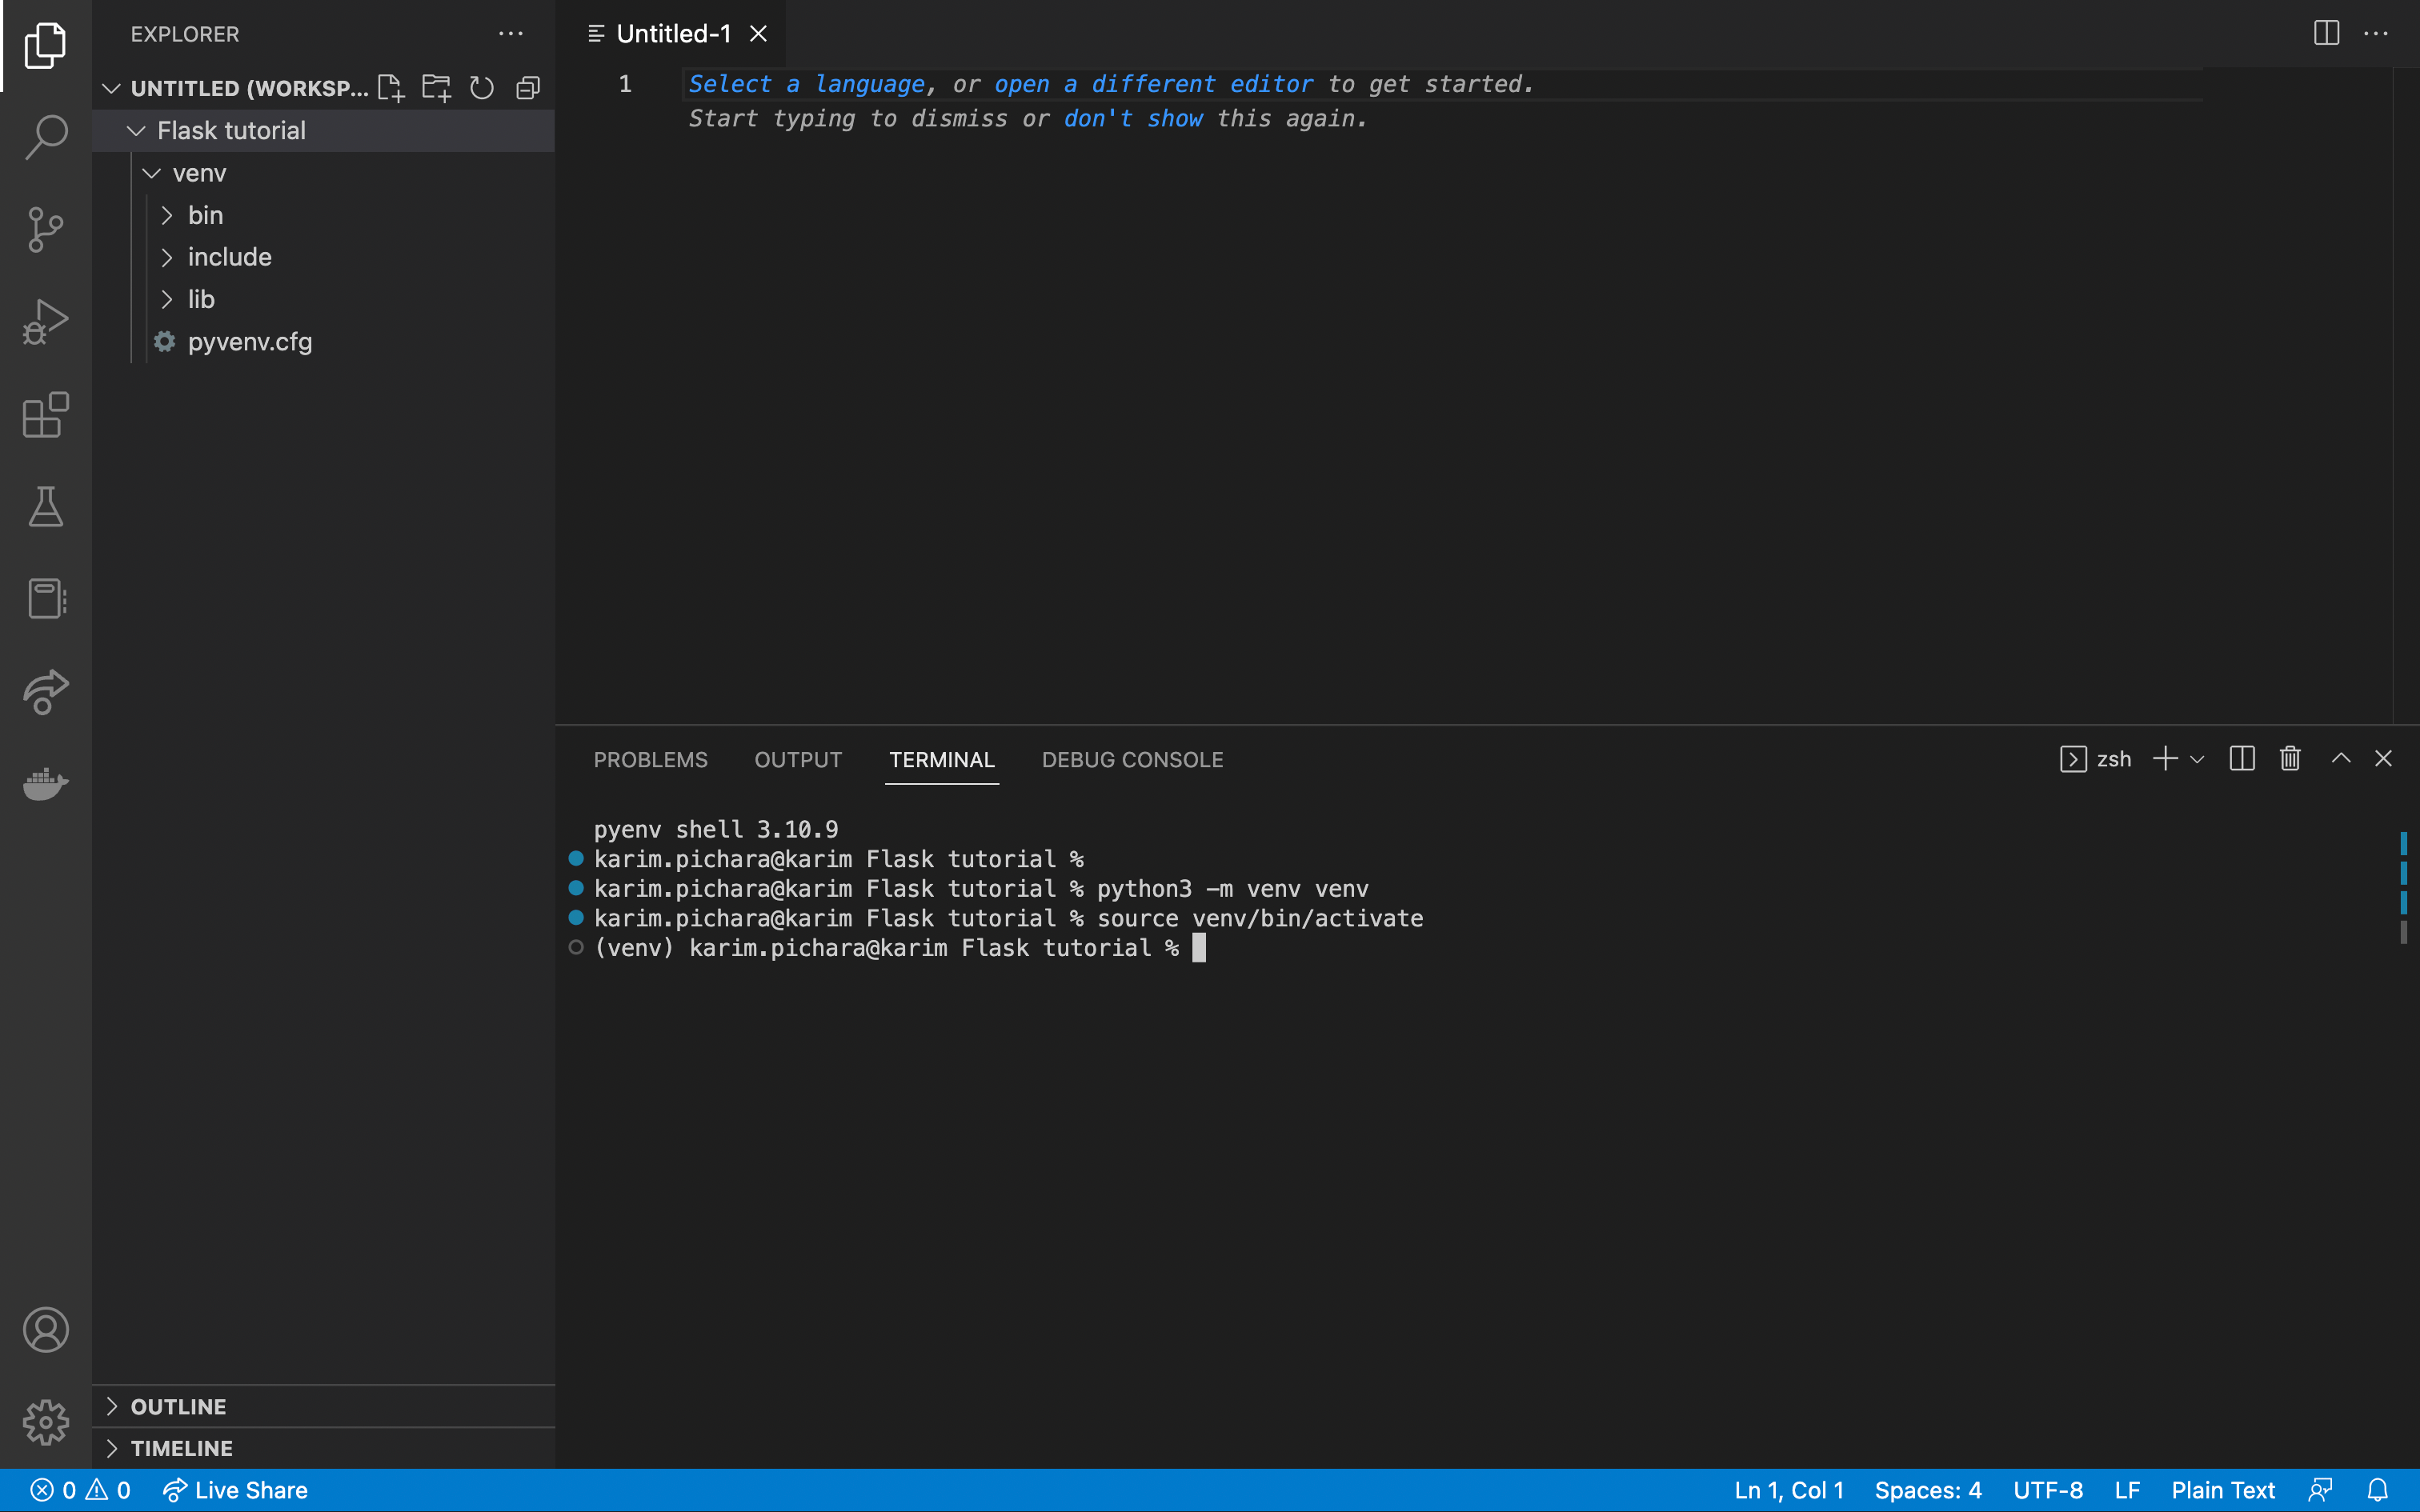
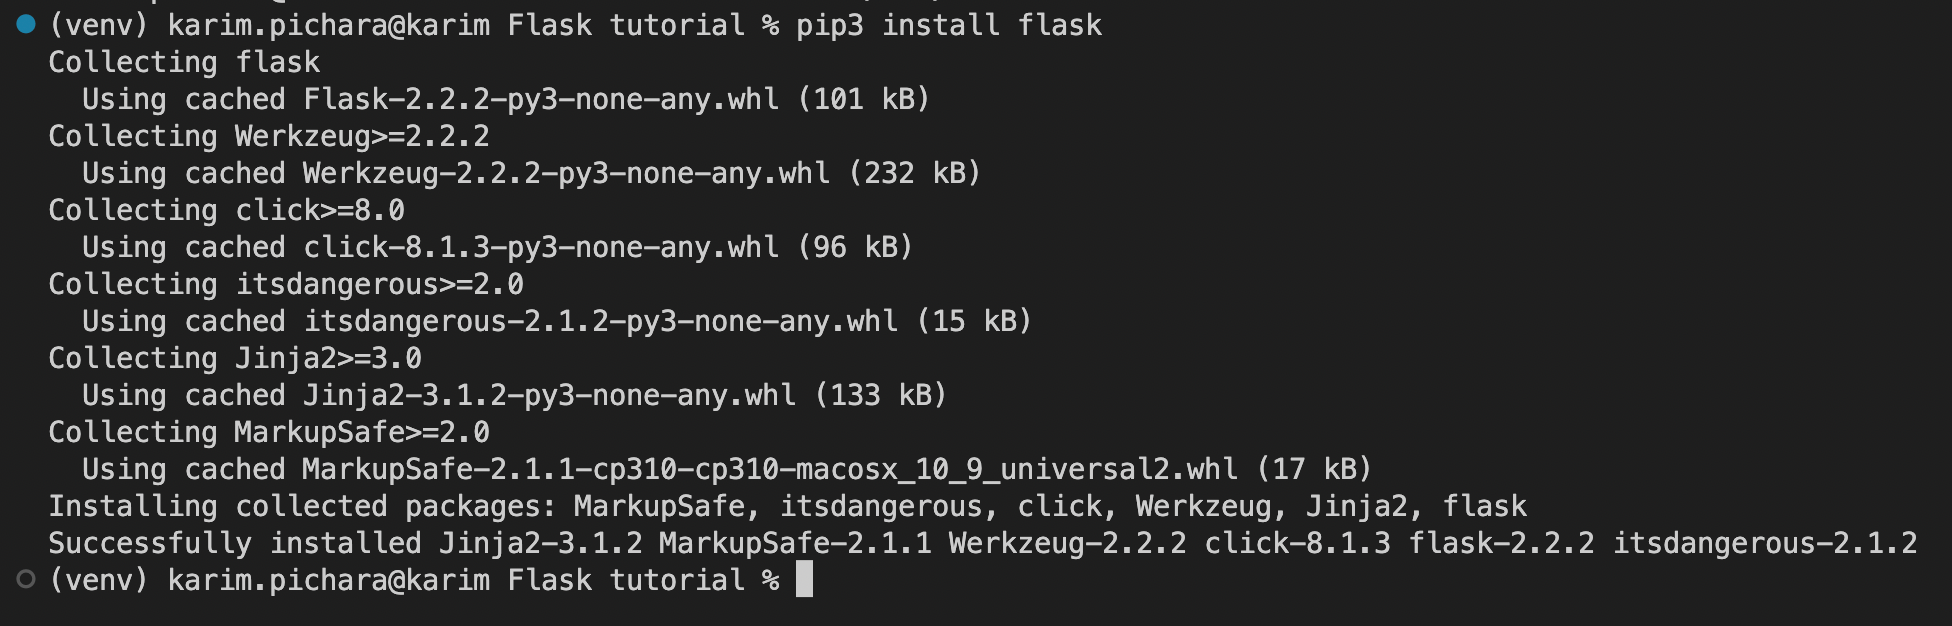
Now, inside this virtual environment, we need to install Flask, the library we are going to use. Flask is a micro web framework written in Python. You can learn more about this library in the official documentation. We install it with pip3 install flask. After this last step we are almost ready to start coding!
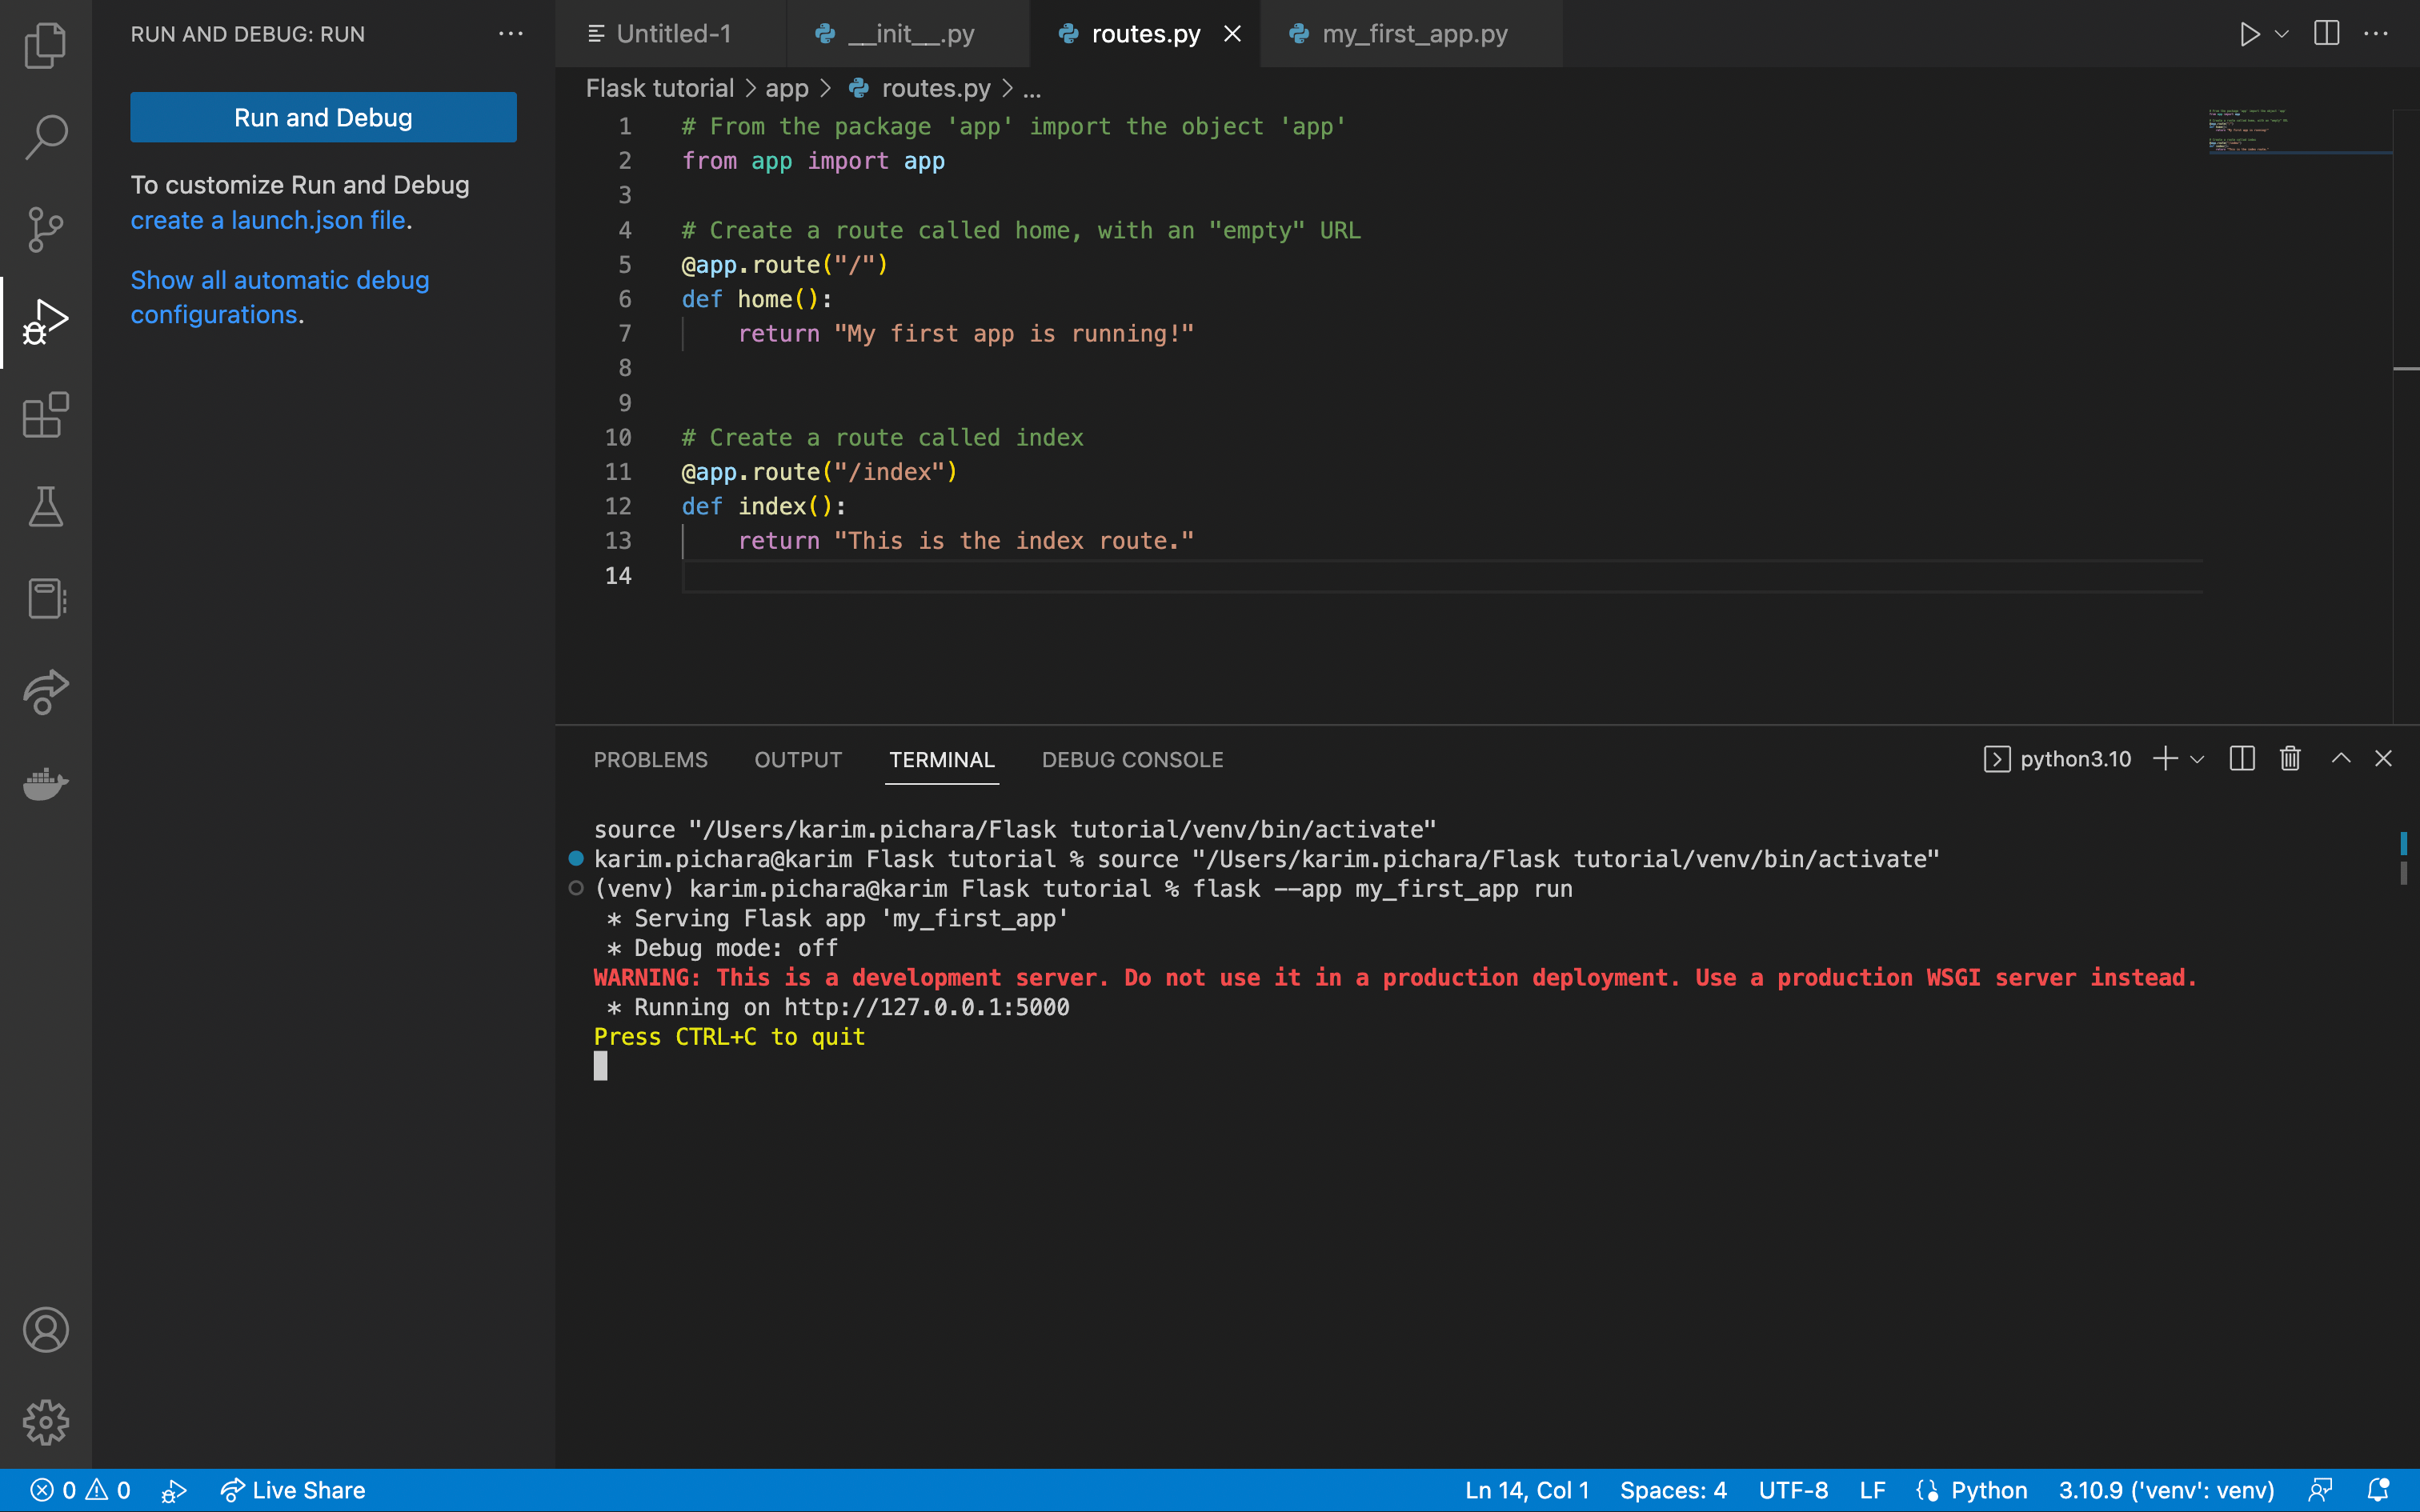
Let’s create a folder named app and create a __init__.py file and a routes.py file inside. Some tutorials will call this last file views.py instead of routes.py, but that is not a problem at all, just be careful with your imports.
Coding our first app
Now, in __init__.py let’s write the following code:
# Import Flask class from the flask library
from flask import Flask
# Create and instance of Flask, called 'app'
app = Flask(__name__)
# Import our routes (not created yet)
from app import routesAdvanced tip: files named
__init__.pyare used to mark directories on disk as Python package directories. You can read more about it in the official documentation.
Don’t run anything yet! We need to create the routes.py file. This file will contain the routes (redundant, I know) for our app. A route is a specific URL which you will be redirected to after the main site. For example, your website is www.myapp.com and we can configure several routes like www.myapp.com/my-route or www.myapp.com/home, etc. This will be our file:
# From the package 'app' import the object 'app'
from app import app
# Create a route called home, with an "empty" URL
@app.route("/")
def home():
return "My first app is running!"
# Create a route called index
@app.route("/index")
def index():
return "This is the index route."
Then, to run the app, we need to create another script at the top level, let’s call it my_first_app.py
# From the package 'app' import the object 'app'
from app import app
Pretty similar to the other file, right? We now need to run the app. Go to a terminal and run flask --app my_first_app run. Drumrolls please!
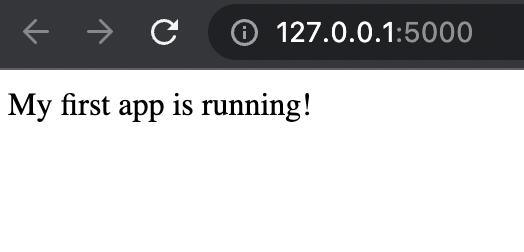
Your first app is now working! You can click on URL on the console to go to your app. The first part (http://127.0.0.1) represents your localhost (your machine) and the 5000 after the semicolon represents the port (you can modify it but it’s not needed right now). After clicking the link, you should see something like this:
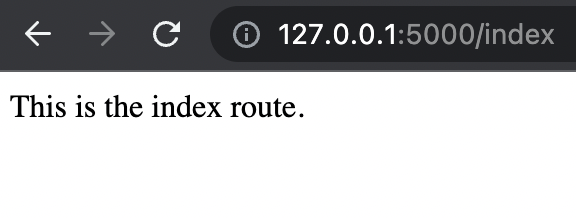
Finally, you can test the other route you created. You can go to http://127.0.0.1:5000/index and see this:
Please bear in mind that this is not the only way to create your first app, but one of many. You can refer to the quickstart of the official documentation to learn more.
Further steps
Now that you created your fist running app, you can create more routes and explore. We can create templates in HTML or forms to interact with the user, but more on that in the future.