
This guide has all the links and steps necessary to install and configure a Virtual Machine to debug with Internet Explorer (from 8 to 11), using the official files provided by Microsoft. It is a simple step by step process. With this approach you get the best of both worlds: you keep your local development environment, and you gain a true IE testing experience.
Install the Virtual Machine
- Install the correct version of VirtualBox for your system. You can use other VM Managers if you like, but this guide assume you will be using VirtualBox.
- Download the Internet Explorer VM ISO of your choice. You can get IE from 8 to 11, and also the latest version of Edge. IE11 on a Windows 7 machine is a popular pick.
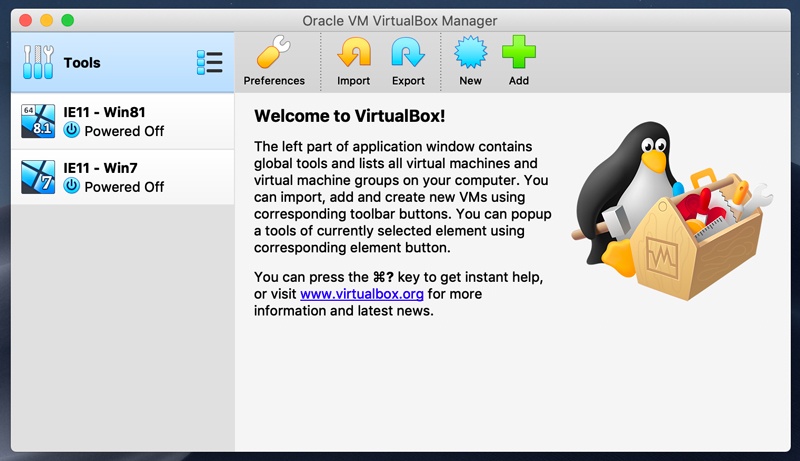
- Once you import the ISO file you downloaded into VirtualBox, you will have the machine ready to use. No extra configuration is needed to start running IE.
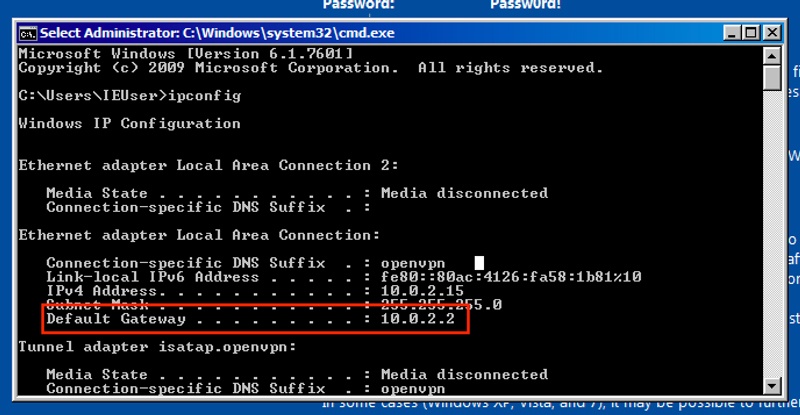
At this point, If you don’t need to configure the VM to use a VPN you can debug by connecting to your local server using the IP of the Default Gateway of the VM. To check the IP just open the command line and execute ipconfig. Using that IP you will be able to access your local environment.
Configure the VM to use the VPN
If you need to access your project but also need to use a VPN, you have to take some extra steps. Most of the configuration happens inside VirtualBox, but the last part will depend on the stack you are using.
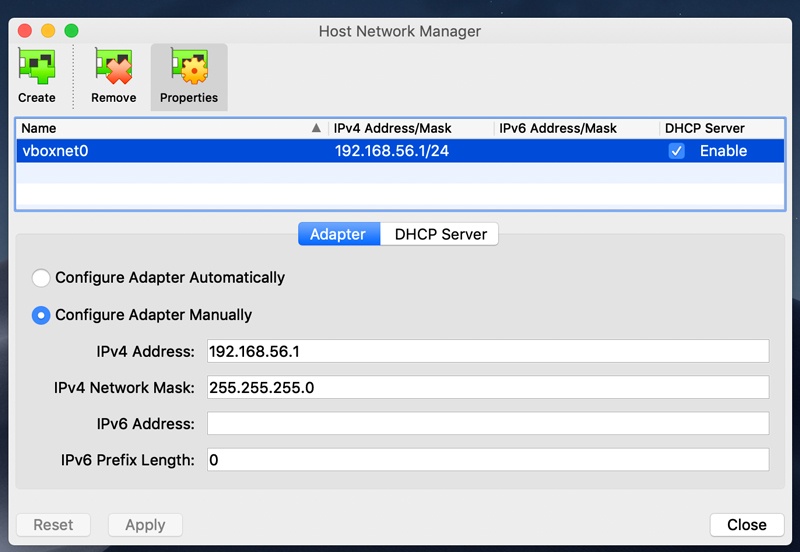
- First, go to the menu Host Network Manager in VirtualBox.
- In this section you will create a new Host-only Network. Choose Configure Adapter Manually and add 192.168.56.1
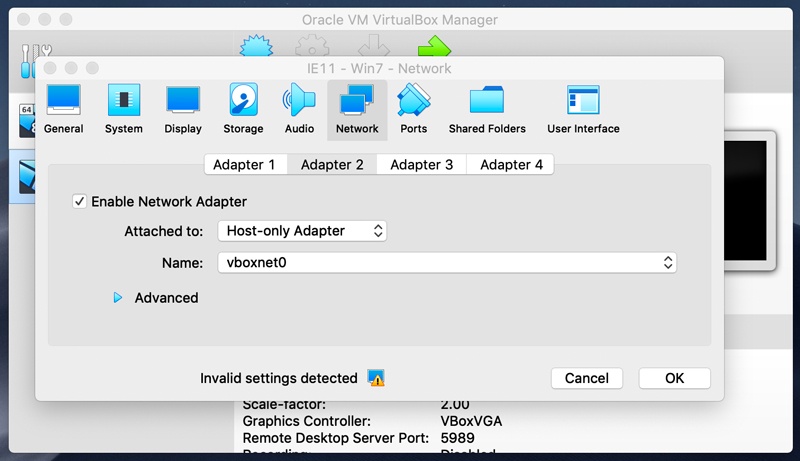
- Close the windows and open the configuration of the VM you imported previously.
- Go to the Network tab, Adapter 2 and enable it. Then, select Host-only Adapter on the “Attached to” option and the Network created early.
Configure your project
There are a few things that we have to change on the project configuration to make the local server accessible by the VM. In this case we provide a simple example for Webpack.
- Open the file “webpack.config.js” and add the host with “0.0.0.0” and the port with 3000 like this:
server: {
   host: '0.0.0.0',
   port: 3000,
   https: false,
},- On the env folder open the “local.json” file and change the “defaultOrigin” to be the IP configured on the Host-only network. In this example the line would be like this:
"defaultOrigin": "http://192.168.56.1:3001",And that is all! If the server was already running while you configured the VM, you will need to restart it after all those changes. If everything went well, you will now have access to your project using the Internet Explorer VM through a VPN.